Double Trouble: How to Use Double Sided Tape
When you need to stick two surfaces together, it’s hard to beat double-sided tape! This convenient tool features a coating of adhesive on both sides of its backing. Double-sided tape is not only great for household repairs and DIY projects, but it is also used professionally in industries like construction and medicine. In this article, we’ve provided a video and step-by-step instructions on how to use double sided tape.
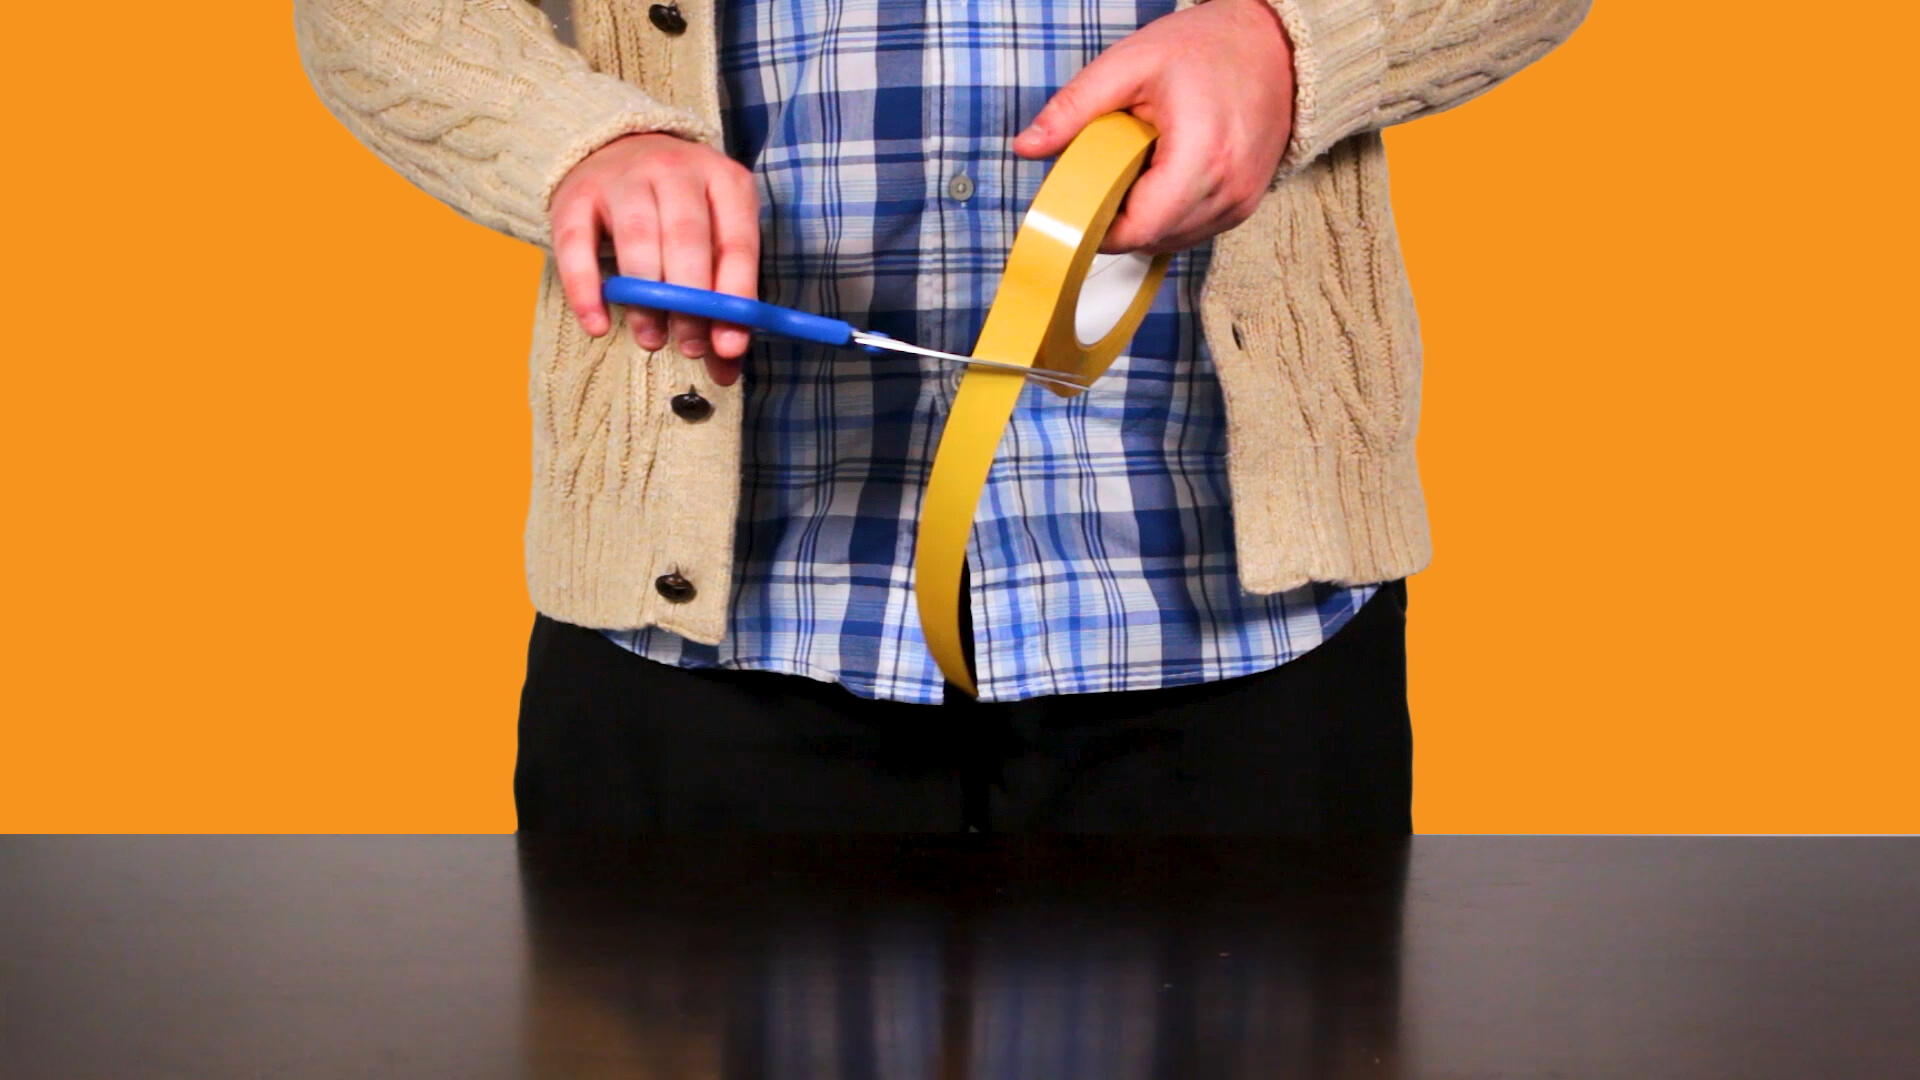
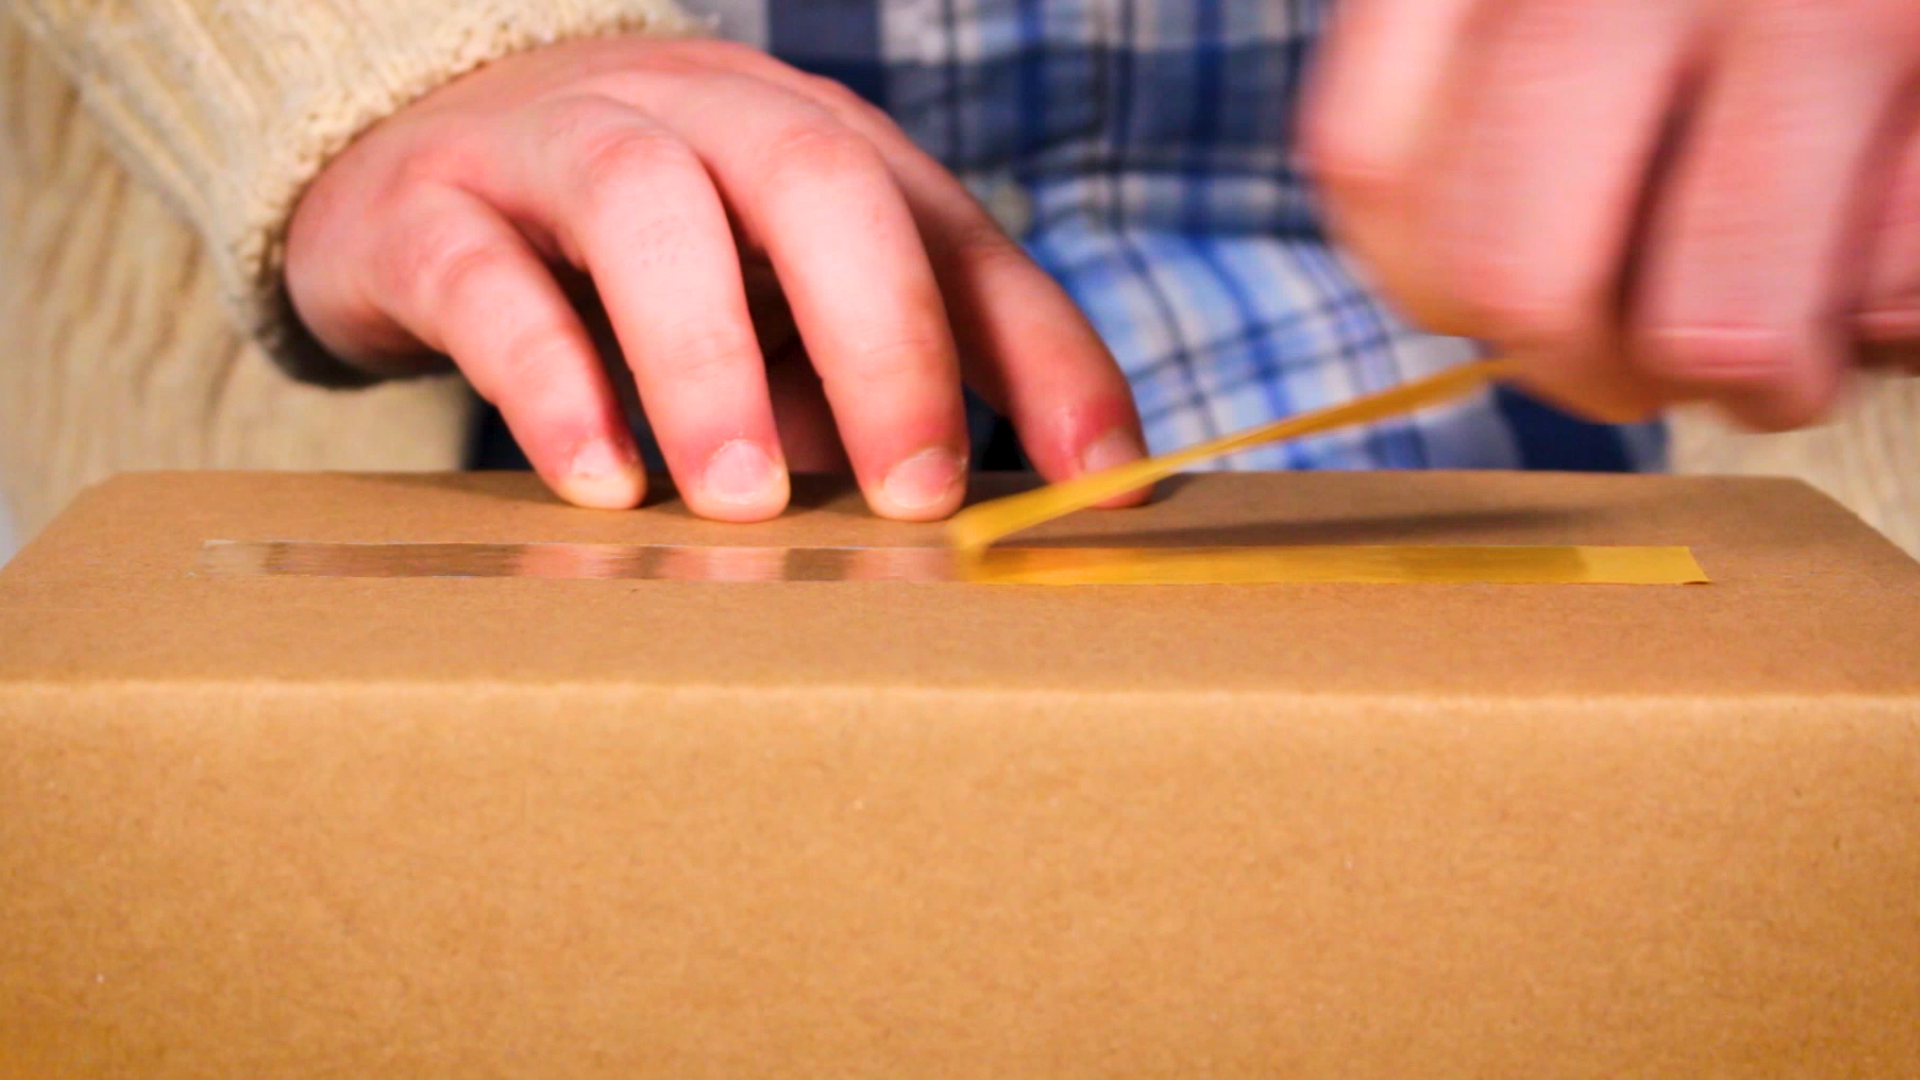
Portion Off a Section of Tape
First, unroll your tape to your desired length and cut the section of tape with either a pair of scissors or the serrated blade of a tape dispenser.
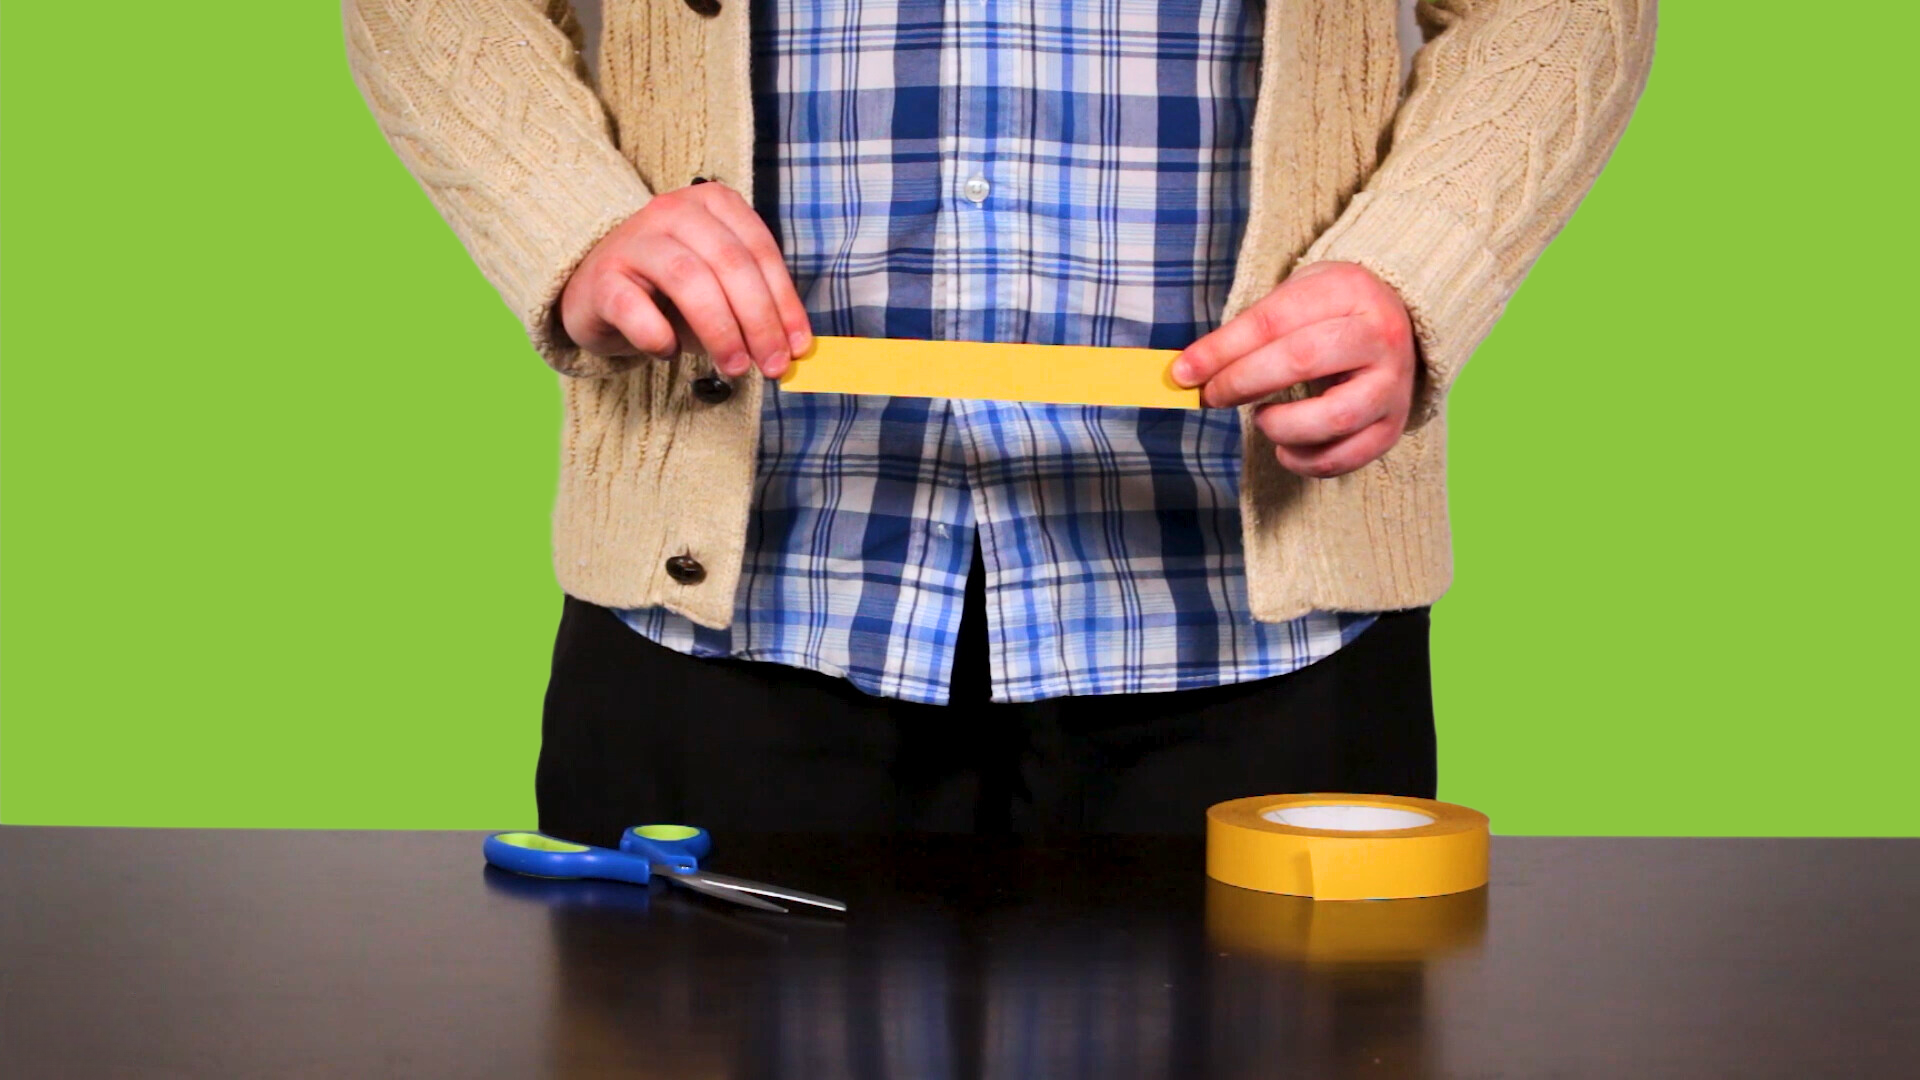
Stick It to the First Surface
Gently set it in place with some light pressure.
Remove the Secondary Backing
Loosen the secondary backing and peel it away to reveal the second side of adhesive. Just make sure you peel away the secondary backing and not the tape itself!

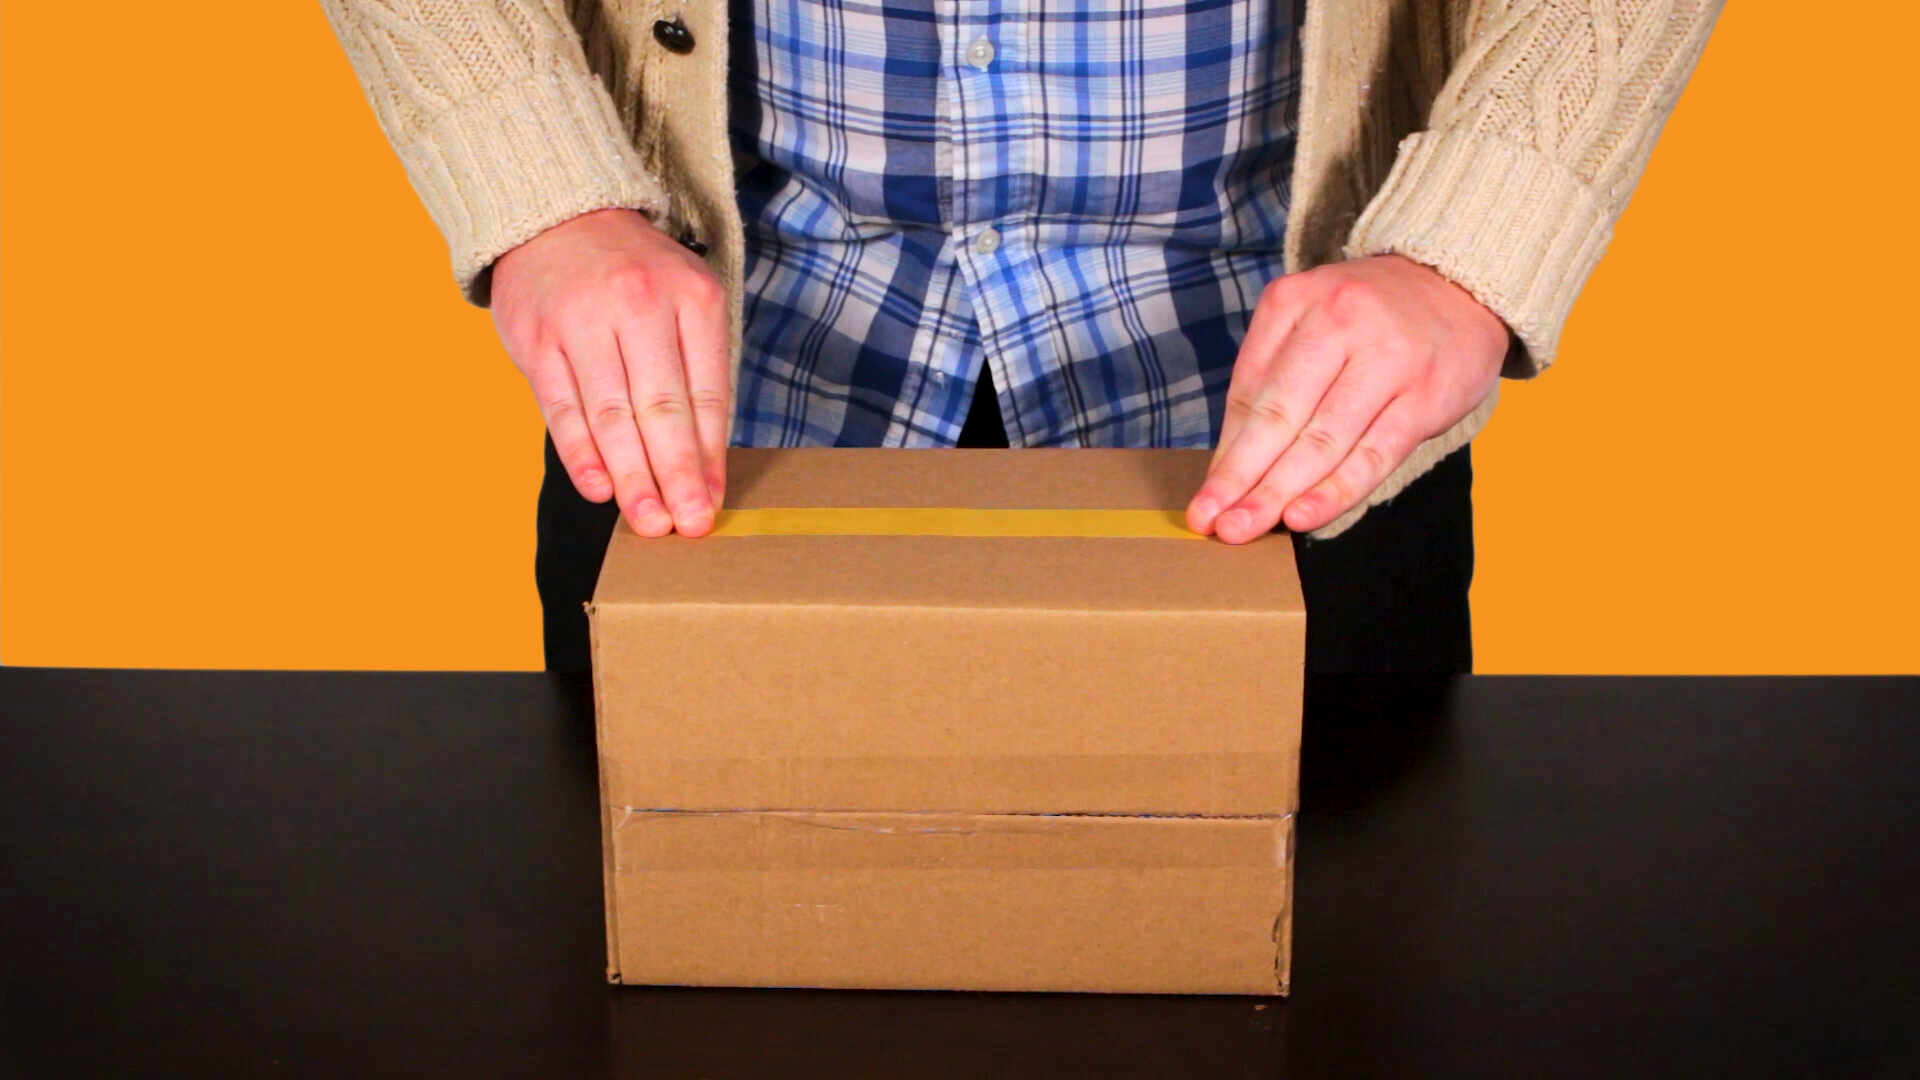
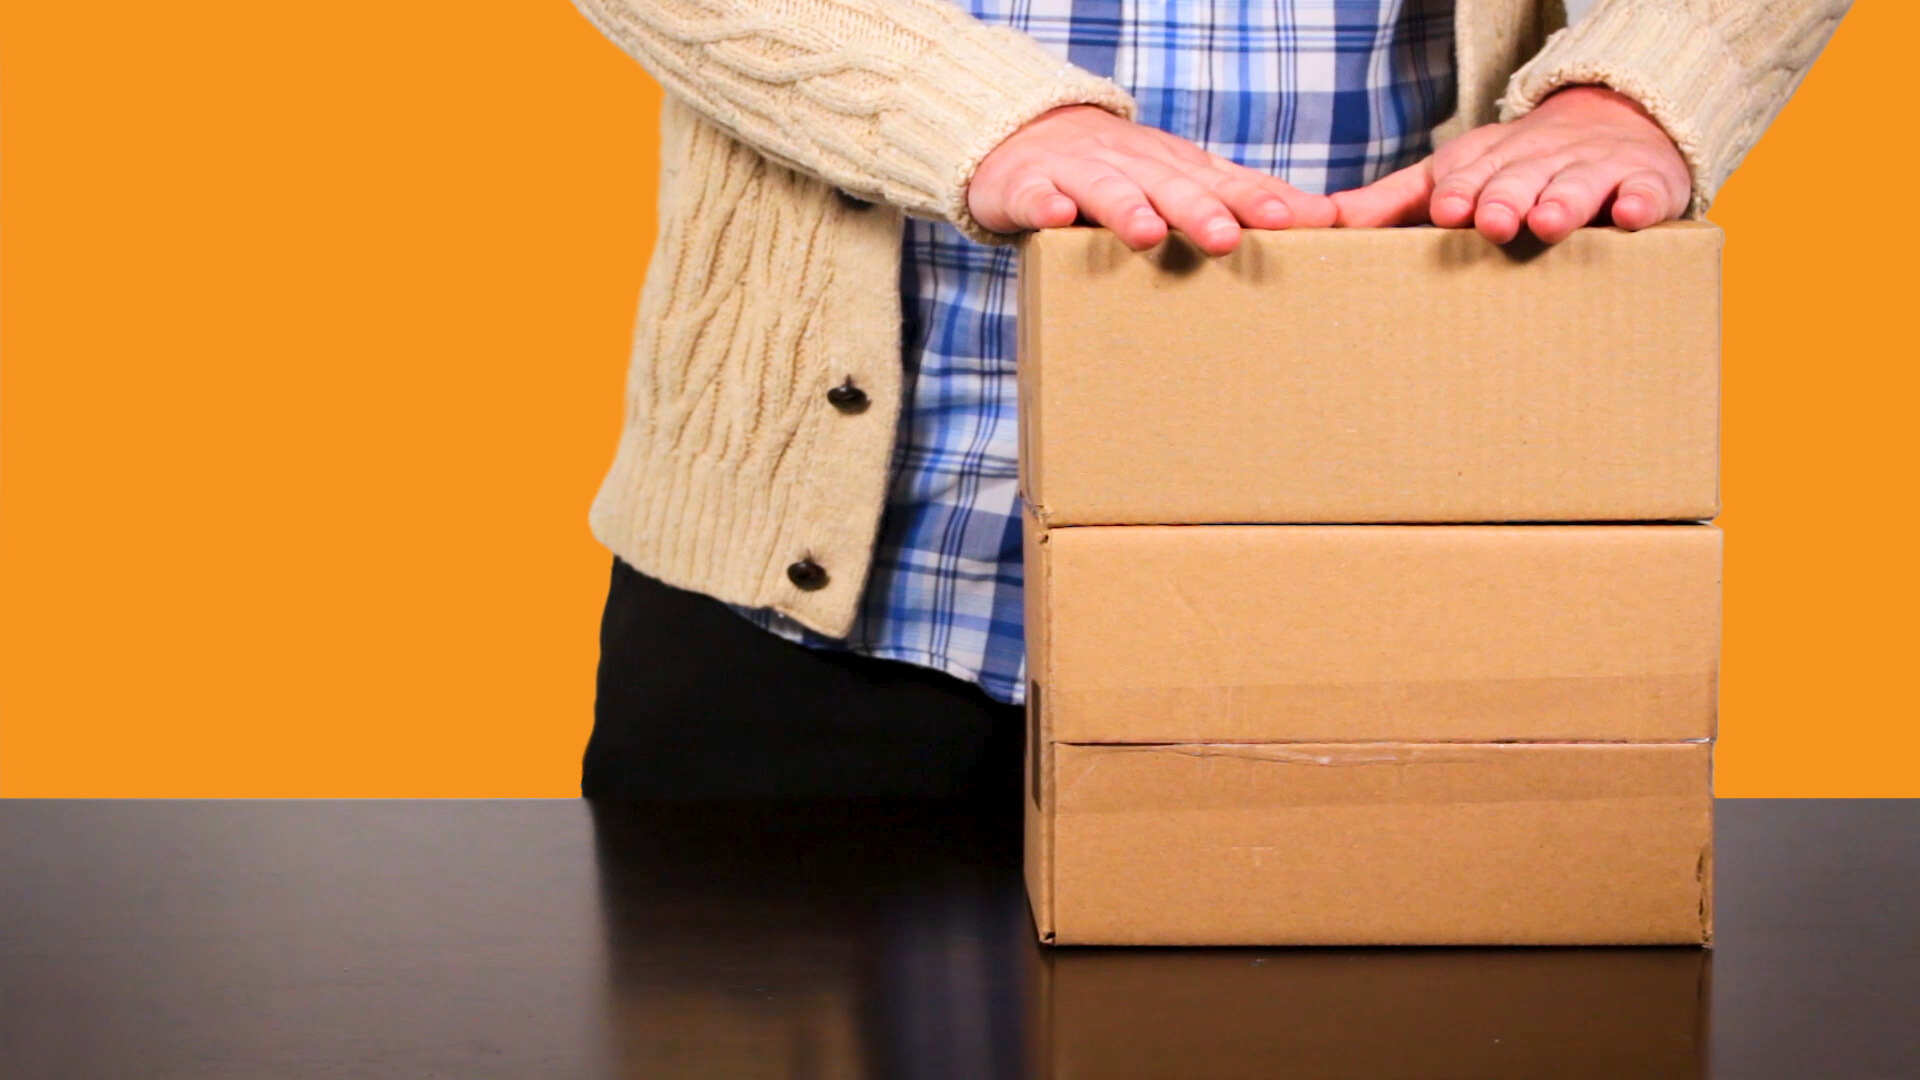
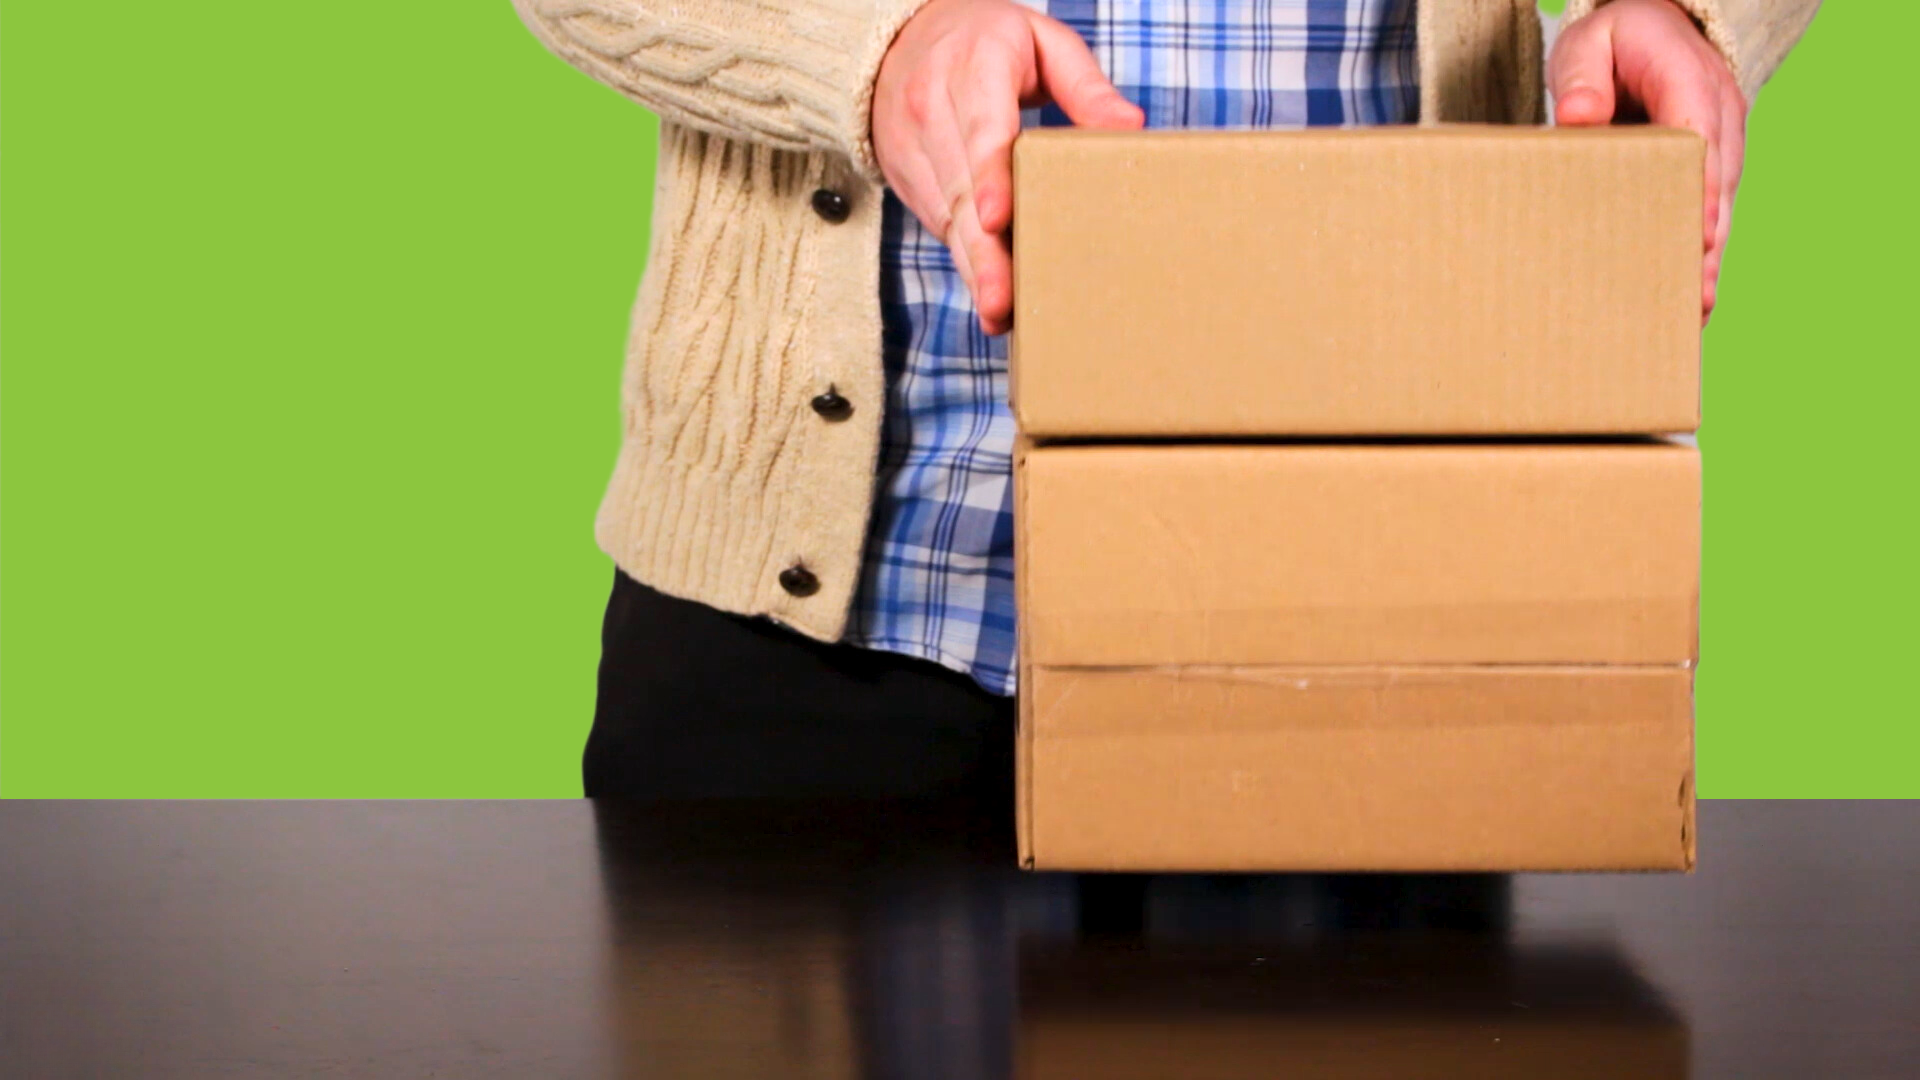
Adhere Your Two Surfaces Together
Again, all it needs is some gentle, light pressure to work.

It’s Double Time
And that’s how you use double-sided tape! It’s a simple, yet effective tool for quickly sticking two surfaces together. Loosening the secondary backing can be a tad tricky, especially if you find yourself accidentally loosening the tape itself. But like with anything, if you use it enough, you’ll master it eventually.
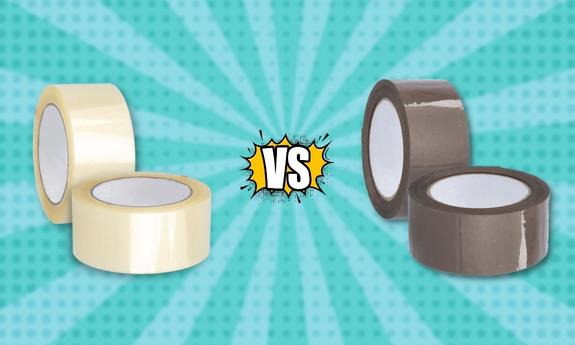
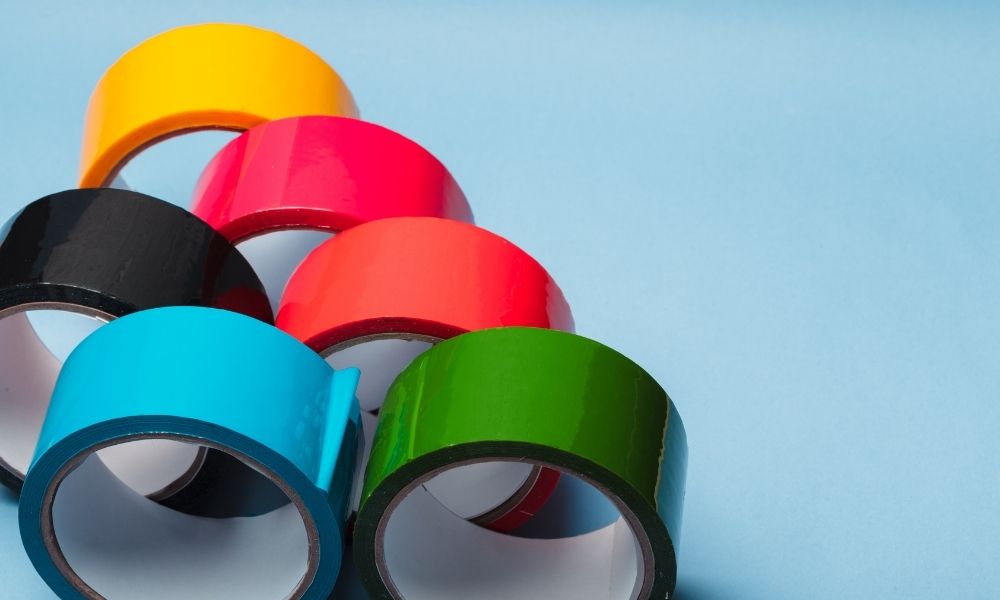
While you’re here, be sure to take a look at our wide selection of tape products, including double-sided tapes. All of our tape comes with free shipping, so you can double down on some double-sided tape today.
For further reading on our tape products, check out our Tape Product Guide.
Log In